
Set Up Your Environment Using the UI
This guide will help you get the fundamentals set up in your Grid Squid environment using our intuitive UI. We'll be setting up your first CRM company, adding users to it, and then getting authentication set up.
Step 1: Get Your API Access
If you haven't done so already, you'll first need to request your API access key here. Once you've requested access, we'll get in touch in two business days or less with your access credentials.
As soon as you've received your credentials, proceed to the next step.
Step 2: Create a Company
First, we'll create a "Company", which will point to a CRM instance you want to connect with. A company represents a group of users who share the same settings, and belong to the same CRM environment, i.e. a team.
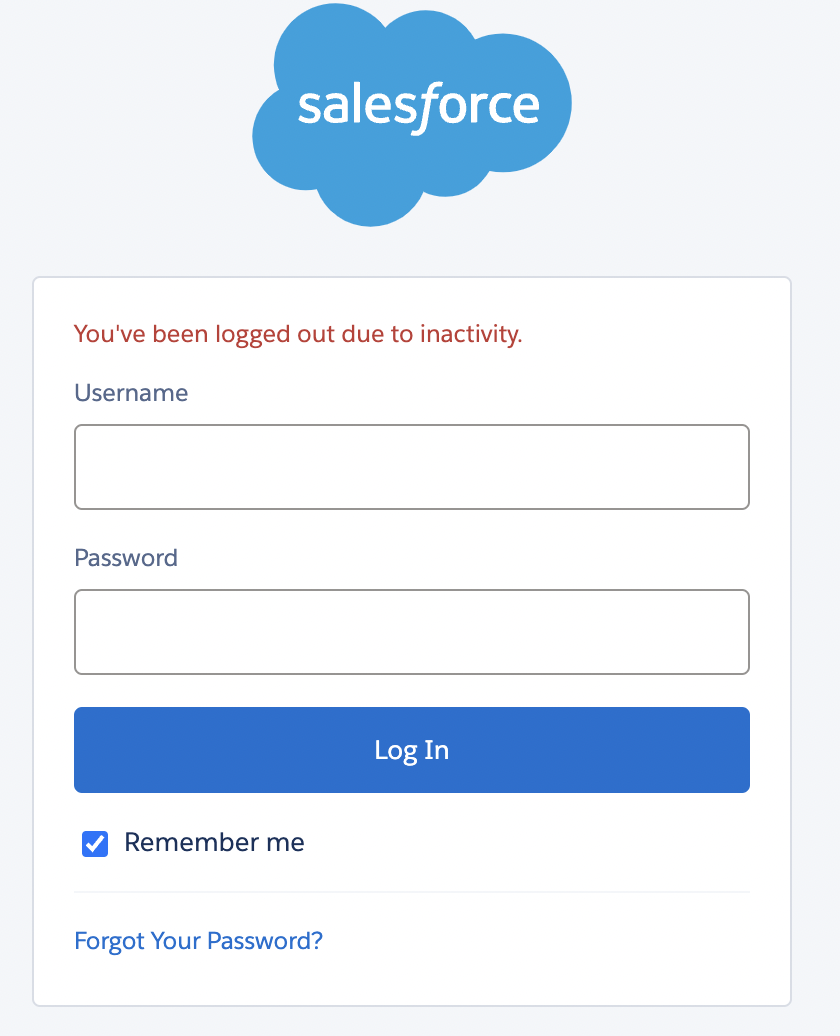
Start by logging in into Grid Squid using the username and password you were given. Then click on 'ADD NEW COMPANY' in the top left.
Once you're there, fill in the required details:
- Company Name - Choose a unique name for your company.
- Eg. "SFDC-Test".
- CRM - Choose the CRM you would like to connect with.
- Login URL - This is the url that will be used to authenticate users into your CRM system.
- Eg. Salesforce: https://xyz-dev-ed.develop.my.salesforce.com
- API URL - This is the url specific to the CRM you are integrating with, it will be fixed in case of most CRMs or it will be some part your login URL.
- Eg. Salesforce: https://xyz-dev-ed.develop.my.salesforce.com
- Eg. Hubspot: https://api.hubapi.com/
- Login Redirect URL - This is the url of your choice where a user will be redirected once he/she is authenticated with the CRM. This will usually point towards your website or app.
- Eg. Badger Maps - https://www.badgermapping.com/
- Environment - specifies the CRM environment you want to use for this company its either PRODUCTION or SANDBOX (this is an important parameter)
Once you've filled in those fields, make sure to hit 'SAVE COMPANY'.

Step 3: Create Users
Now that you've set up your first company, it's time to add some users to this company.
To do so:
- Select the company you created in last step and navigate to 'USERS'.
- Select 'ADD NEW USER'.
- Choose a Username for your user.

Step 4: Authenticate the Users
Next, you'll have to authenticate the user you just created in previous step with your CRM:
To authenticate users, they have to be redirected to: <YOUR_API_URL>/users/{user_id}/login
Where user_id is the Grid Squid ID which you can copy from the UI.
For Example: https://badgermaps2-dev-ed.my.salesforce.com/
We have separated this login from the main Grid Squid UI so that end users of the target application don't need access the Grid Squid UI.
Step 5: Create Your First Mapping
Now that you have set up a company and authenticated at least one user with your CRM, we'll tackle the final step - creating setting up your mapping. Mapping is a customizable workflow designed to extract, transform, and prepare CRM data for integration with your application.
To set up your mapping:
- Navigate to 'Mappings' in the UI.
- Select 'Add New Mapping'.
- Choose an object in your system and select the corresponding CRM object you'd like to map to it.
- Configure and test the mapping.
For more details on how to configure a mapping please check out our detailed guide on mapping


Great! Now you are all set.
Next, we recommend that you try out your setup by doing Your First Bulk Export.