
Set up your environment using the API
This guide will help you set up your Grid Squid environment with ease using only the API. Follow the steps outlined below to get started.
Step 1: Get Access
If you haven't done so already, you'll first need to request your API access key here. Once you've requested access, we'll get in touch in two business days or less with your access credentials.
As soon as you've received your credentials, proceed to the next step.
Step 2: Set Up & Test API
Head to our GitHub page and Download:
- token_auth.py
- JWT PRIVATE KEY
- JWT PUBLIC KEY
Store these in your project directory.
Then, create a python test script with the following code:
import requestsfrom token_auth
import TokenAuth

jwt_token = TokenAuth().build_jwt({})

headers = {
"Content-Type": "application/json",
"Accept": "application/json",
"Authorization": f"Bearer {jwt_token}",
}

response = requests.get(<YOUR URL>, params={}, headers=headers)
Make sure to substitute your URL and API keys where necessary.

Step 3: Create a Company
Start by making a POST request to:
<YOUR_API_URL>/companies
The request body (params) should look like this:
{
"crm": "CRM for which you are setting up Company",
"login_url": "Your CRM’s Login URL",
"api_url": "Your CRM’s API URL",
"login_redirect_url": "Your Redirect URL",
"name": "Name of your Company",
"environment": "Environment of CRM you want to use (PROD / SANDBOX)"
}
Step 4: Create a User
To create a user, make a POST request to:
<YOUR_API_URL>/companies/company_id/users
The request body (params) should look like this:
{
“Username”: Username of your choice
}
Step 5: Authenticate the User
Next, you have to authenticate the user you just created in the previous step with your CRM.
In order to authenticate, users have to be redirected to: <YOUR_API_URL>/users/{user_id}/login?token=<a JWT generated token>
For Example: https://demo.gridsquid.io/users/MY_USER_ID/login?token=MY_JWT_TOKEN
Where the user_id is the Grid Squid ID. You can copy this from the UI.
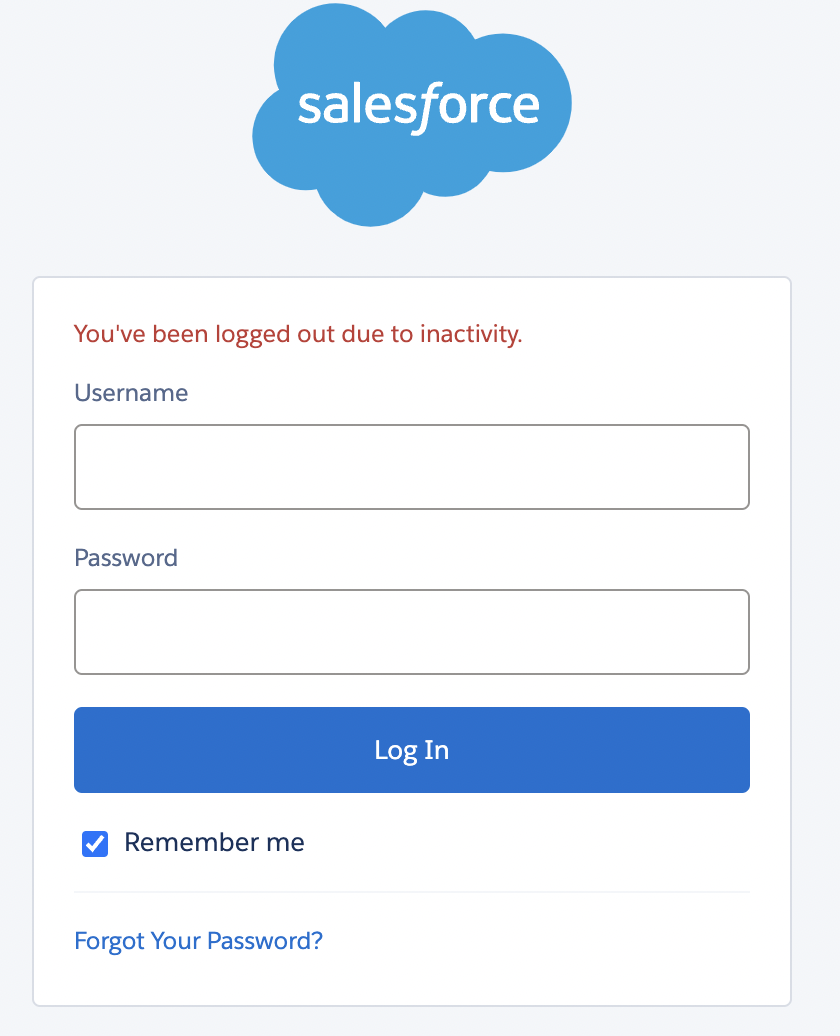
When visiting this URL, the user will be redirected to their CRM Authentication page.
For Example: https://badgermaps2-dev-ed.my.salesforce.com/.
We intentionally authenticate users this way so that end users of the target application don't need to access the Grid Squid configuration UI.
Step 6: Create Your First Mapping
Now that you have set up a company and authenticated at least one user with your CRM, we'll tackle the final step - creating a mapping. Mapping is a customizable workflow that allows you to extract, transform, and prepare CRM data for integration with your application.
Start by making a POST request to:
<YOUR_API_URL>/companies/company_id/mappings
The request body (params) should look like this:
{
"badger_object_name": Name by which you refer object in your target system,
"crm_object_name": Name of the object in CRM you are connecting to,
"fields": [
	{
	"crm_field": {"key": field’s name in CRM},
	"badger_field": {"key": field’s name in target system},
	"type": field’s data type in target system
	}
],
"custom_js": JS code for custom transformations or validations}(optional)
}
For more details on how to configure a mapping please check out our detailed guide on mapping
Great, now you are all set!
Next, check out our guide on doing Your First Bulk Export to start getting data from your CRM.